Quiz Entry - updated: 2026.07.30
What are the seven steps to configure a basic WLAN on a Cisco WLC?
Create the WLAN (Wireless Local Area Network) → apply and enable it → select the interface (VLAN (Virtual Local Area Network) mapping) → configure security (WPA2 (Wi-Fi Protected Access 2) + AES (Advanced Encryption Standard)) → verify it's operational → monitor the WLAN → view client details.
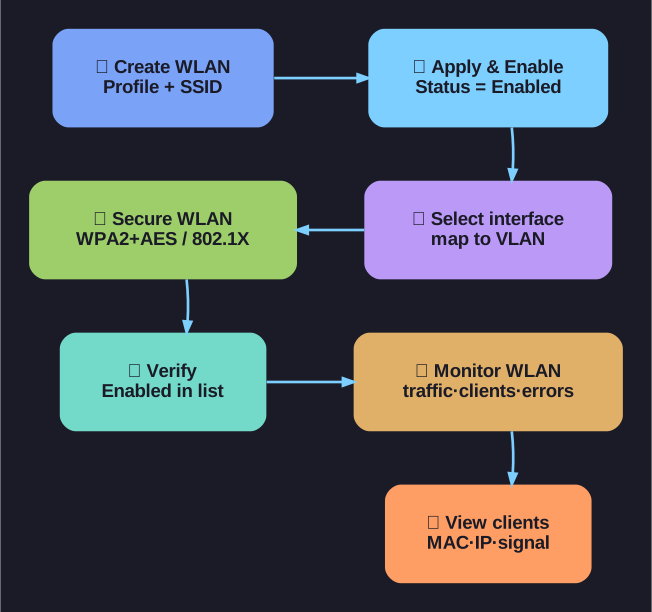
* Seven steps to configure a WLAN on a WLC (Wireless LAN Controller). *
Step-by-step WLC WLAN configuration:
| Step | Action | Details |
|---|---|---|
| 1 | Create the WLAN | Go to WLANs tab → Create New → enter Profile Name and SSID (Service Set Identifier) |
| 2 | Apply and Enable | Set Status to Enabled → click Apply |
| 3 | Select the Interface | Choose which VLAN/interface carries this WLAN's traffic (e.g., "management" or a custom VLAN interface) |
| 4 | Secure the WLAN | Security tab → select WPA2 + AES; for PSK (Pre-Shared Key): set passphrase; for Enterprise: select 802.1X |
| 5 | Verify Operational | Check that the WLAN appears in the WLANs list with Enabled status |
| 6 | Monitor the WLAN | Monitor tab → view traffic, client counts, errors |
| 7 | View Client Details | Click Clients → see connected devices, their MACs (Media Access Control addresses), IPs, signal strength |
Important notes:
- When you modify a WLAN, it's temporarily disabled then re-enabled → briefly disconnects all clients on that WLAN
- Each WLAN is mapped to an interface which corresponds to a VLAN → determines which subnet clients get
- The WLC can host up to 512 WLANs but practical limits depend on the model
Tip: Always test your WLAN with a client device after configuration — verify that the client can authenticate, get a DHCP (Dynamic Host Configuration Protocol) address, and reach the network before declaring it operational.